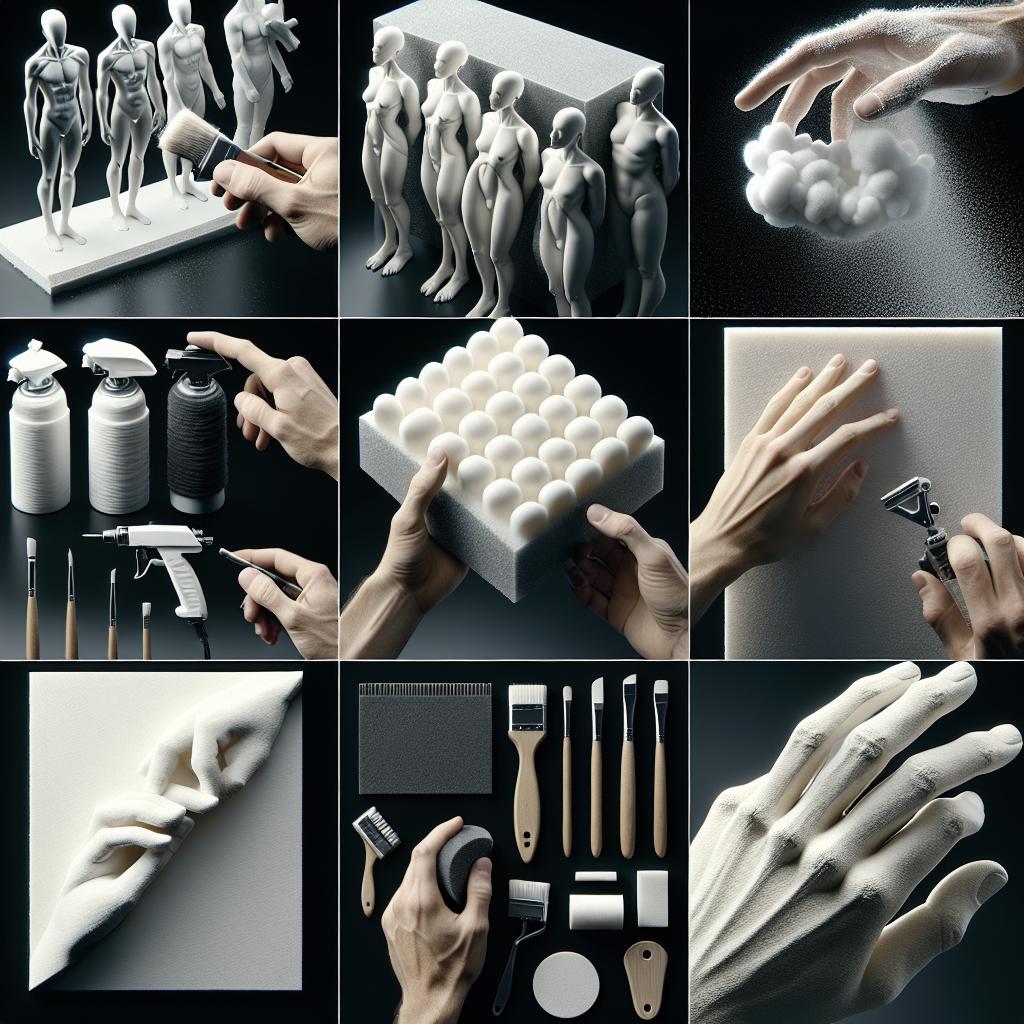
Introduction: Painting and Finishing EVA Foam and Worbla
The art of costume and prop design has evolved with materials such as EVA foam and Worbla, treasured for their versatility and ease of use. If you’re aspiring to create stunning cosplay attire or theatrical accessories, mastering the aesthetic completion of these materials will serve as a game changer. This post delves into the essentials—ranging from tools and materials to priming and painting techniques, followed by final touches like top coats and closures. Whether you’re a hobbyist or aiming for professional-grade projects, these insights will guide you in achieving striking and durable works of art.
Step 1: Tools and Materials
To start your journey into foam finishing, it’s crucial to gather the right set of tools and materials. The basic must-haves include craft knives, heat guns, sanding blocks, and brushes. For more advanced detailing, consider an airbrush system, as it offers smoother application and superior control over paint distribution. Equally vital are safety measures like masks and goggles, especially when cutting or painting foam, to protect yourself from any harmful fumes or particles.
Beyond tools, materials set the foundation of your project. EVA foam sheets are favored for their pliability and affordability, while Worbla, a thermoplastic, offers sculptural possibilities. For adhesion, contact cement works excellently, ensuring your cut-outs form a cohesive surface. Gather a variety of paints—acrylics are great for beginners—and a collection of primers and sealants for the best finishing results.
Step 2: Priming EVA Foam
Priming is an indispensable step to prepare EVA foam for painting by creating a smooth, sealed surface. Begin with sealing the foam using multiple layers of Mod Podge or a similar product. Each layer should be thin, as too much can fill in the foam texture excessively, impacting the finish. Allow each to dry completely before applying the next.
For an ultra-smooth surface, consider using Plasti Dip. Offering both flexibility and grip, it forms a protective coat against chipping. Alternatively, an application of gesso smooths out the surface, helping paint adhere better while allowing intricate detailing. With each coat, sand lightly for a polished finish, ensuring no visible streaks that might mar your paint job.
Step 3: Priming Worbla
Priming Worbla involves different tactics, as this thermoplastic presents a distinct set of challenges. Start by heating the Worbla with a heat gun to activate its adhesive properties. Once shaped, a mixture of wood glue or gesso comes into play. These act as a filler to even out imperfections. Be sure to apply in thin coats, sanding between each to avoid uneven texture.
Another alternative is using a spray-on primer designed for plastics, offering seamless adhesion and smoothness. Spray multiple layers, maintaining consistent distance and motion for even coverage. This approach can save time and yields excellent results when precision and time management are critical in your creative process.
Step 4: Painting
Once primed, painting can begin. Choose acrylic paints for their vibrant colors and ease of use; they adhere well to both EVA foam and Worbla. Use brush techniques like dry brushing for distinct highlights and shadows, adding depth to your project. Layers are crucial—start light and gradually build up the color intensity for a dimensional effect.
For broader areas, an airbrush can offer a flawless finish without the streaks traditional brushes might leave. Mix acrylic paints with proper thinners to ensure they flow smoothly. Experiment with blending colors directly on the surface to achieve gradients that naturally transition, enhancing realism in your design.
Step 5: Top Coats and Sealing
To protect your painted creation, applying a top coat is essential. Sealants like clear acrylic sprays shield against scratching and atmospheric wear, promoting longevity. Choose a finish that complements the piece—matte for minimal glare or gloss for a striking sheen.
For heavier protection, consider a two-part epoxy resin, which provides a robust, glass-like finish. Although it requires meticulous application and curing time, the durability it offers often justifies the effort, ensuring your meticulous work stands the test of time. Be cautious with its use, as unwanted drips and runs can ruin a perfect paint job if not properly managed.
Step 6: Adding Closures and Attachments
Integrating functionality into your design, such as closures and attachments, completes the piece, rendering it wearable or mountable. Velcro and snaps are excellent for EVA foam projects; they offer adjustable hold without damaging the material’s surface, which is ideal for costumes.
For Worbla applications, rivets or screws may be required for structural integrity, enabling it to handle more stress and movement. For non-wearable items, consider decorative attachments, like lace or fabric overlays, which can be glued directly onto the surface. Match the attachment method with the anticipated use of your creation to maintain form and function.
Step 7: Are You a Superhero Yet?
With familiarity in foam aesthetic finishing techniques, your creativity now knows no bounds. Whether making armor fit for a hero or intricately detailed props, you’ve unearthed advanced skills in crafting with foam materials. Embrace the learning curve, experiment eagerly, and don’t shy away from mistakes—they are the steps to expertise.
The satisfaction of transforming raw materials into striking artwork is immensely rewarding. Each project you undertake builds upon your expertise. Now, as you don your self-crafted gear, not only will you embody the spirit of a superhero, but you’ll also carry the pride of craftsmanship.
Final Thoughts
| Step | Description |
|---|---|
| Tools and Materials | Essential tools and safety gear for beginning projects with EVA foam and Worbla. |
| Priming EVA Foam | Preparing the foam surface using Mod Podge, Plasti Dip, or gesso for painting. |
| Priming Worbla | Using wood glue, gesso, or spray-on primers for a smooth finish on Worbla. |
| Painting | Applying acrylic paints with brushes or airbrushes for detailed, vivid finishes. |
| Top Coats and Sealing | Protecting the finished surface with clear acrylic sprays or epoxy resin. |
| Adding Closures and Attachments | Functional additions like Velcro or rivets for usability and enhancements. |